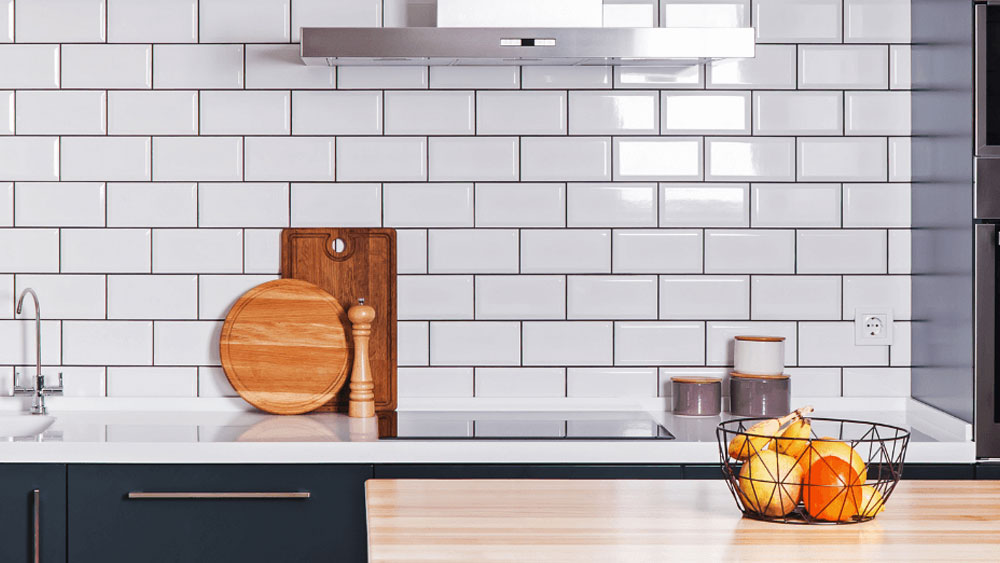
The Ultimate Guide to Speed Cleaning Your Kitchen Tiles in Minutes
A sparkling clean kitchen is the heart of a well-maintained home, and one of the key elements to achieving this is keeping your kitchen tiles pristine. Kitchen tiles often bear the brunt of spills, splatters, and foot traffic, which can leave them looking dull and dirty. The good news is that you don’t need to spend hours scrubbing and cleaning to restore the shine to your kitchen tiles. With the right techniques and some quick tricks, you can have your kitchen tiles looking as good as new in no time.
Gather Your Cleaning Supplies
Before you dive into cleaning your kitchen tiles, it’s essential to gather all the necessary supplies. This will save you time and ensure you have everything you need at your fingertips. Here’s what you’ll need:
1. Broom or Vacuum Cleaner: Start by sweeping or vacuuming the kitchen floor to remove loose dirt and debris. This will prevent dirt from spreading around when you start cleaning.
2. Warm Water: Fill a bucket with warm water. Warm water is effective in breaking down grease and grime.
3. Mild Dish Soap or Tile Cleaner: You can use a gentle dish soap or a specialized tile cleaner. Avoid harsh chemicals that can damage your tiles.
4. Microfiber Mop or Cloth: A microfiber mop is excellent for cleaning tiles. If you don’t have one, a microfiber cloth will also work.
5. Soft Bristle Brush: You may need a soft-bristle brush for scrubbing stubborn stains and grout.
6. Rubber Gloves: Protect your hands from chemicals and hot water with a pair of rubber gloves.
7. Old Toothbrush: This can be useful for cleaning grout lines.
8. Dry Towel or Cloth: You’ll need this for drying the tiles after cleaning.
Now that you have your supplies ready, let’s move on to the steps for quick and effective kitchen tile cleaning.
Step 1: Sweep or Vacuum
Begin by sweeping or vacuuming the kitchen floor to remove any loose dirt, crumbs, or debris. Pay special attention to corners and under appliances, as these areas often accumulate more dirt.
Step 2: Prepare Your Cleaning Solution
Fill your bucket with warm water and add a small amount of mild dish soap or a tile cleaner. Mix it well to create a soapy solution. Make sure the water is not too hot, as very hot water can cause tiles to crack.
Step 3: Pre-Treat Stubborn Stains
If you have any tough stains or grout that needs special attention, apply a little extra soapy water to these areas and let it sit for a few minutes. This will help to loosen the stains and make them easier to remove.
Step 4: Start Cleaning
Dip your microfiber mop or cloth into the soapy water, wring it out so it’s damp but not soaking, and start cleaning the tiles. Work in small sections to ensure thorough cleaning.
Step 5: Scrub the Grout
For grout lines that need extra attention, use an old toothbrush. Dip it in the soapy water and gently scrub the grout. The bristles will help remove embedded dirt and grime.
Step 6: Rinse and Dry
Once you’ve cleaned the entire kitchen floor, empty your bucket and fill it with clean, warm water. Use a clean mop or cloth to rinse the tiles, removing any soap residue. Then, dry the floor with a towel or cloth.
Step 7: Admire Your Clean Tiles
Stand back and admire your freshly cleaned kitchen tiles. They should now look spotless and sparkling. Your kitchen will not only look more appealing, but it will also be a more hygienic and pleasant place to cook and spend time in.
Maintenance Tips
To keep your kitchen tiles looking great, consider the following maintenance tips:
– Wipe up spills immediately to prevent stains and grime buildup.
– Regularly sweep or vacuum your kitchen floor to prevent dirt from accumulating.
– Use doormats at the entrances to your kitchen to reduce the amount of dirt brought in from outside.
– Periodically reseal grout lines to protect them from stains and moisture.
In conclusion, speed cleaning your kitchen tiles is all about efficiency and using the right techniques and supplies. With a little bit of regular maintenance and the occasional deep cleaning, you can keep your kitchen tiles looking beautiful and ensure they stand the test of time.
By following this ultimate guide, you’ll spend less time cleaning and more time enjoying your kitchen.
Hiring a professional house cleaning service is a great way to save time and make house cleaning less of a chore. After all, they are professionals and have the necessary tools and equipment that you may not have access to. Plus, they have the time to dedicate to cleaning. If you’d rather spend your time doing something more enjoyable, consider booking an appointment with GreenLeaf Cleaning, the most reliable and efficient house cleaning service in London.
If you require assistance with domestic cleaning, our GreenLeaf London Cleaning Company will be delighted to provide this service, as well as one-off cleaning and spring cleaning. We understand the importance of a clean and healthy home and are committed to providing the highest quality of service. Our experienced team of cleaners will ensure that your home is spotless and sparkling.
Visit our website https://www.greenleaf-cleaning.co.uk/ for more information or call via free phone number: 0800 032 6248
Your Local Domestic Cleaning – Green Leaf Cleaning Services Near You!
PARTNERS LINKS:
Landscape Gardening | Landscape Derbyshire
Landscape Gardening | Landscaping Design and Installation
Fencing Services | Gates Services
Decking Installation Services | Deck Maintenance
Patios And Slabbing Services | Patio Installation
Roofing, Soffits And Fascias Services | Roofing Solutions
Concrete Gutter Repair And Replacement | Concrete Gutter Replacement

